
OK - As previously mentioned, I put holes in the lesser shoulder plates according to a pattern I was working from, and that turned out to have been a poor choice. Anyways, no pictures of that process, but I will be outlining a leathering method of my own devising in the next post. Above is our starting point - for better or worse, the lesser shoulder plates are assembled, and now we want to attach the upper shoulder guard and breastplate assembly. As you can see above, I've laid the plates out flat so I can check how they are lining up while still accessing the central leather. In this pic I've already marked and cut the holes on the central leather - that's the easy part. Now we need to do the sides.
As you can see in the picture above, (and in several other pictures from recent posts) I sort of traced the strap outlines on the breast and back plates -- this was done while holding them upright (as though the shoulder was being worn). After I marked the outline of where the strap would run, I eyeballed it and marked an "X" for the riveting point near the center of the plates.
After drilling the holes, I repeated the "hold upright and lay strap against plate" process, but this time I used a screwdriver to push through the new hole in the plate and mark the location on the strap. Then all that remained was to punch the hole in the strap and connect the plates.
Below, I have connected the breast plates to all three leathers. It's now time to attach the front and rear leathers to the upper shoulderguard - which turned out to be the most annoying part of the process of all. Below, all plates are attached on the central leather -- only the front and rear leather remain to be completed.

I planned to use the same technique -- I'd fold the plates up as though the shoulder was being worn, and then mark the outlines of the strap on the plate. This turned out to be a lot more difficult than I thought, with plates flapping all over the place, lames twisting out of true alignment, etc. Then I tried setting the whole unit on a stump and tried to let gravity do the work for me:
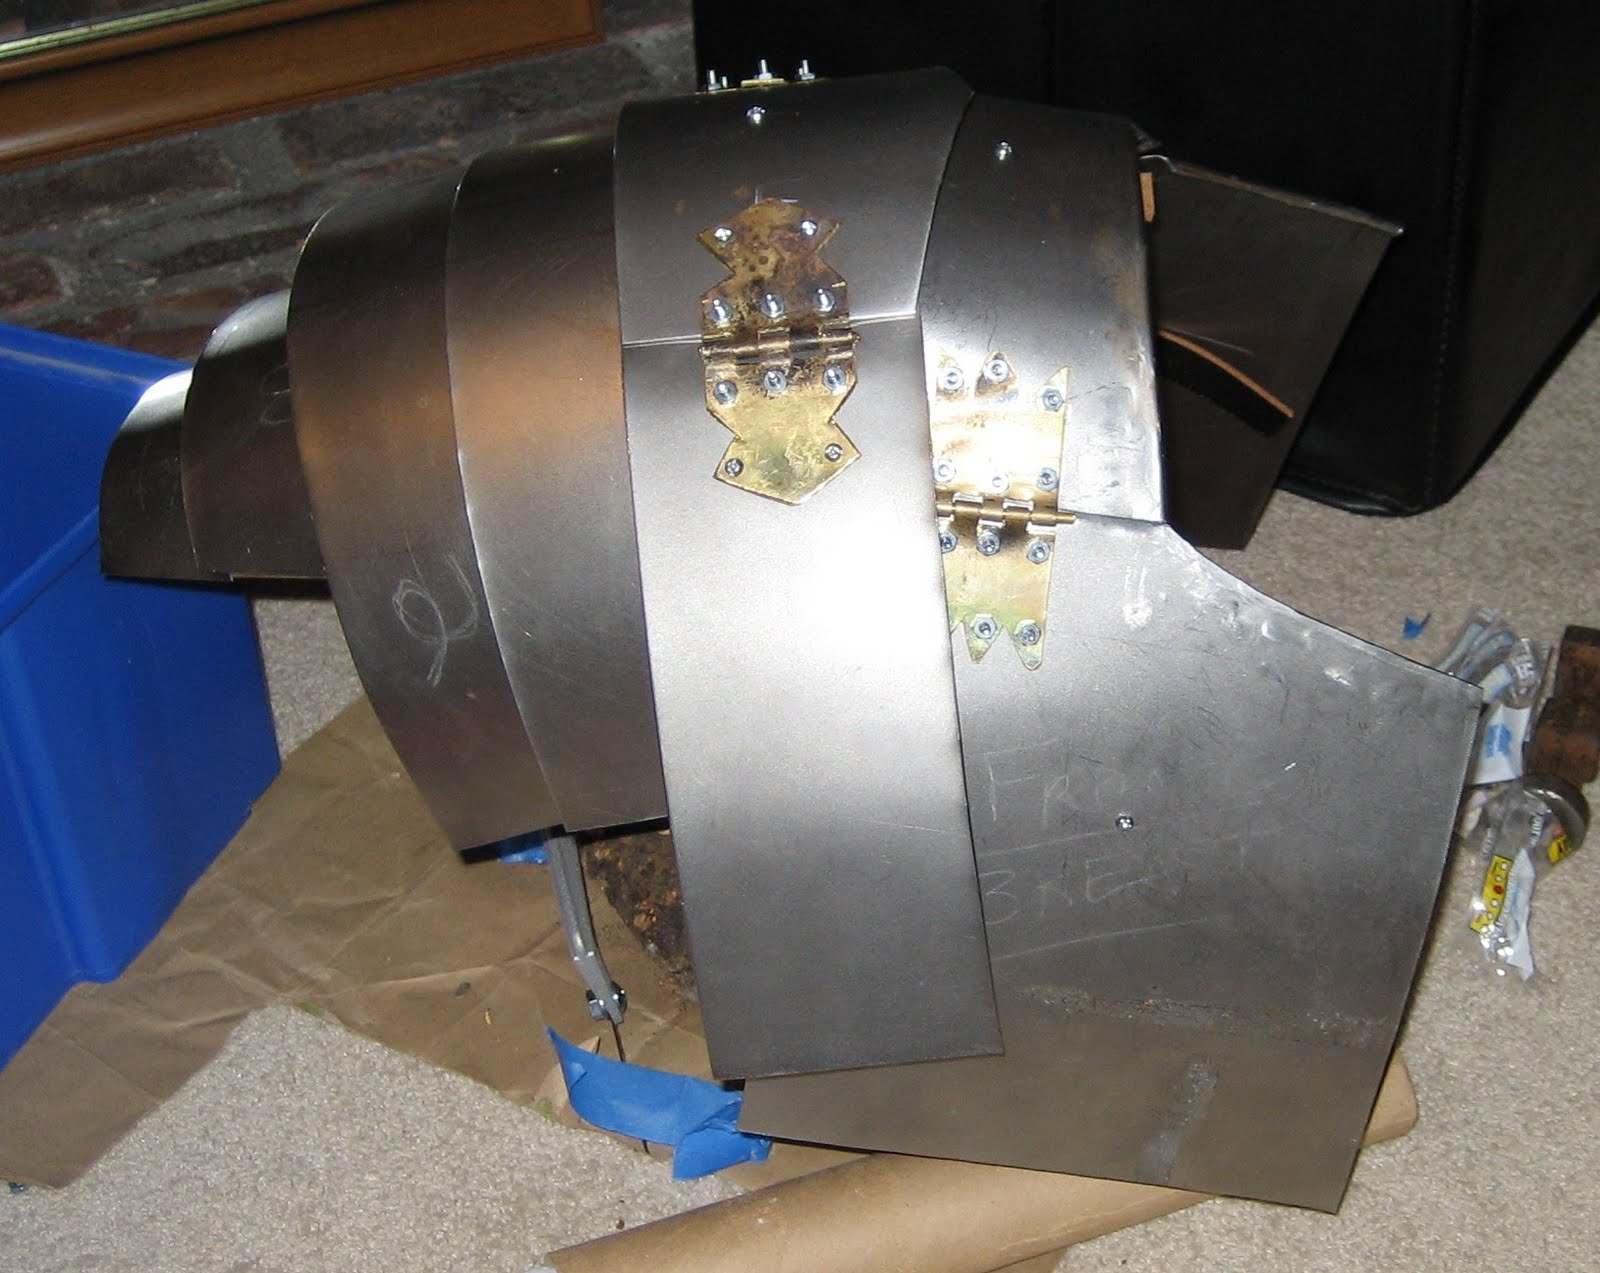
Unfortunately, this made it more or less impossible to see or reach the parts I needed to reach. Part of the problem here was in getting the upper shoulder to lie down properly on the collar pieces -- I'll talk more about that in a moment. Anyways, after several minutes of hell trying to figure out how to do it I applied some engineering wisdom and solved the problem with duct tape.

That let me get inside to mark the outlines of the straps with my piece of soapstone.

However, while I was in there, I noticed a major problem in the making:

One of my leathers was running right across the corner of a plate, right along the hinge line. That would probably wear out the strap and break it in no time!
So when I marked the riveting point on the upper shoulder, I deliberately put it a bit low on that side to force the leather to move away from the hinge line.

The moment of truth!


So there's a couple of problems with this shoulder. The top two issues:
1. Upper Shoulder Doesn't Fit Well.
This is because I took what is essentially a Corbridge A shoulder unit and attached it to a Newstead breast/collar/back plate set. The central upper shoulder plate isn't wide enough to match the curve of the mid collar plate - In order to make things lie nice and flat, the upper shoulder front & back plates would have to make a sharp curve right in the middle of the hinge face.

2. Lesser Shoulder Plates Don't Hang Properly

There are several potential causes for this, not least of which is wrong holes, wrong leather, wrong angles, etc. Solving this issue is the topic of my next post.
Awesome. So how long until you are proficient enough to take orders? Andy needs and armored carapace.
ReplyDeleteoh no, now I have a mental image of the terrible clanking noise as armoured andy enjoys his happy time. :(
ReplyDeleteBah ha ha ha.
ReplyDelete