Showing posts with label girdle. Show all posts

Tuesday, 25 October 2016

More rounded corners

Riveted the other girdle section together (sans top band).  Look at all those clothing and finger-safe round corners!


Next I spent a bit of time puzzling over the leathering attachments for a shoulder section as there were several corrections to make and straps to adjust.  Then it was time to take it all apart, being careful to mark which holes were to be used during reassembly.  This was followed by a few more hours with the hammer and dremel, straightening out wobbly edges and smoothing sharp bits and corners.

Mission accomplished for now.


Tomorrow's task will be riveting the lesser shoulder lames together, and then disassembling and rounding the corners on the other shoulder section.  That will be a bit trickier since portions of it are already riveted together (from back in 2011).

Before I can finish riveting the shoulder sections together, I will need to finish riveting the hinges and (if I have time) making and attaching a brass decorative plate for the holes where the girdle band hangs.

A picture of a carlisle hinge, for no particular reason:

Monday, 24 October 2016

Leathering - the rush is on!

Hey folks - not much time these days to spend on writing up careful updates.  The Halloween deadline is fast approaching.

Today I dismantled both girdle sections and rounded all the sharp corners (52 of those) and ground, hammered, and/or filed all the rough edges (lots of those from tin snips).  I also smoothed out a few rough edges on the brass tabs and slots.


Corners were snipped off, then a dremel or file was used to clean up the fine corners and the aforementioned rough edges.  Steel wool was used to rub along the finished edges to take off any remaining wire edges / coarseness.

I also started riveting the slotted side of the girdle plates.  I am cheating a bit on these rivets since they mostly don't show.  Inside of making each rivet by hand from copper wire (as I have done for the decorative brass plates and hinges), I am using galvanised roofing nails.  These have the advantage of being less work and including their own washer - the nail head.  Once cut off and peened, their origin is only visible from the inside of the armour, which is not a concern for me.

I have not attached the topmost girdle band since I want to fine-tune the hooks and rivet those on first.


Sunday, 16 October 2016

Girdle Test Fitting

After finishing both bottom girdle bands, I got everything leathered up so I could do a proper test fitting!  A bit snugger than expected, but still very wearable.  It's possible I've suffered some horizontal expansion in the past five years.


Bending forwards, backwards, sideways - they all work!


Haven't trimmed the leathers yet, so they are hanging out the bottom.  I made the fasteners out of plain copper wire, probably 14 gauge.


Here's a quick look at how much give there is, particularly in the bottom two plates, which do not fasten together.


It's feeling a lot closer to completion!  Sadly, there are lots of sharp edges which need to be dealt with before this can be a worn as a costume.  When I disassemble everything to put in the final rivets, I'll have to take each lame and apply finishing to the edges and corners.  This is not difficult, but it's a lot of metal filings and time.

The next batch of work will require a propane torch so I can anneal brass again - to finish bending the hooks on which the girdle hangs.

I'll also have to finish adjusting the shoulder leathers, do some edge finishing, and finish riveting the hinges.

See you next time, reader.

Bottom Girdle Bands - More Hammerwork!

As mentioned on Satuday, I decided that a seventh set of girdle bands was required.  Since I'm rather taller than the average roman, this wasn't too surprising.  Fortunately I still had some of the original material carefully packed away, so measuring and cutting two additional bands wasn't a big deal.

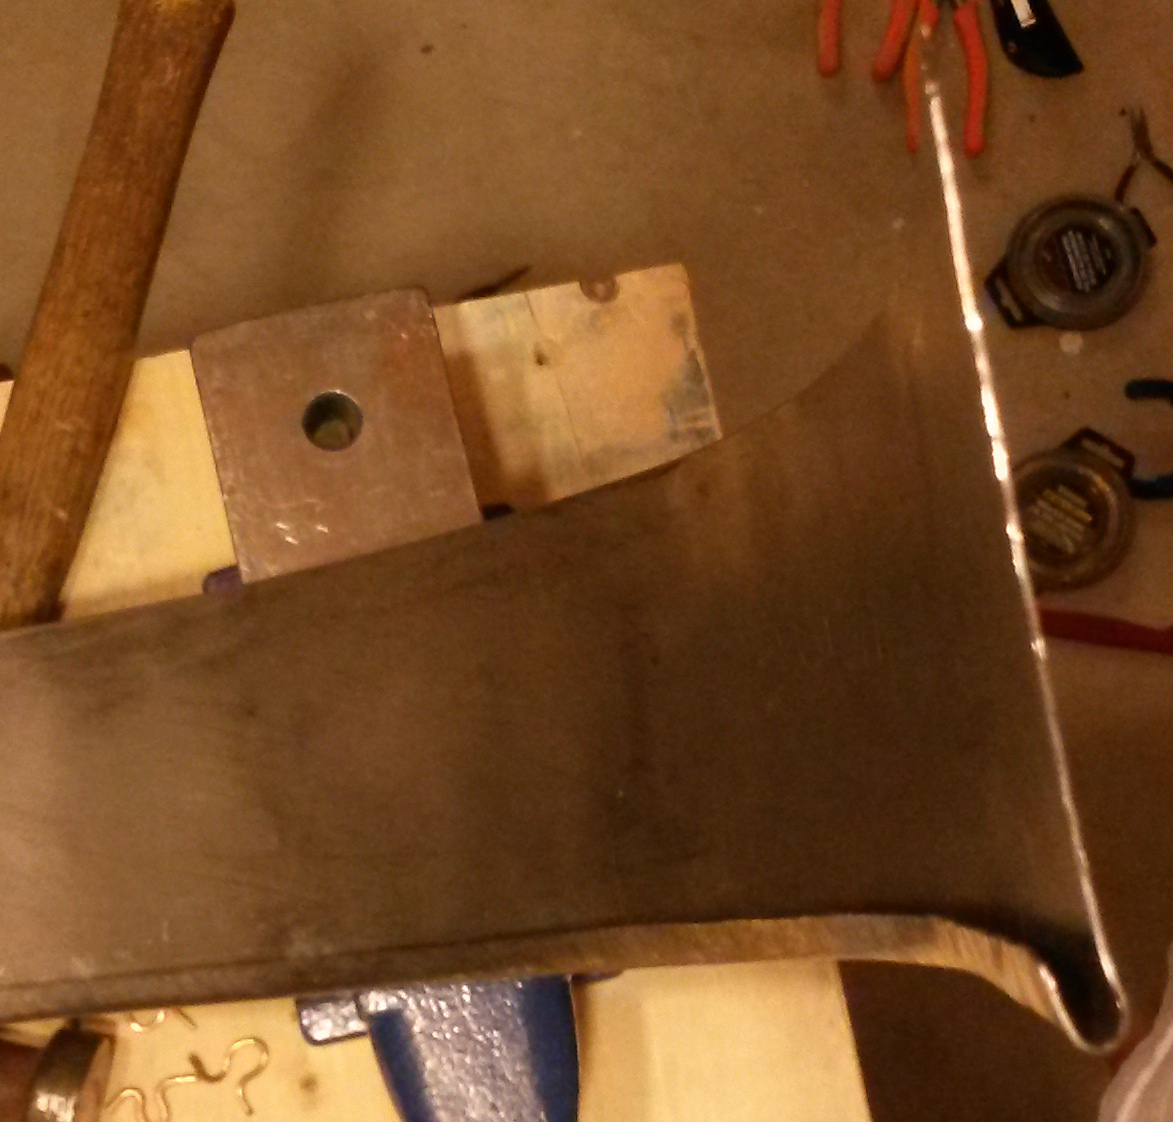
What promised to be slightly more arduous, however, was the task of finishing their bottom edge. I wanted to have something that would be gentle on my fabric (and flesh), so I determined that I should invest the time in adding a folded and flared edge similar to the 'better half' of my neck plates.  I was a bit worried about remembering how to do this until I recalled that I documented it all. For reference -  my previous posts here and here, and helpful resource linked from those posts (here).

First, I marked a line and started the bend.  We only want to do a little bit on each pass.


A bit more progress on the second pass...


Pass #3:


Here in the fourth pass or so we're finally starting to curl past 90 degrees.


Now we're starting to close the fold...


Add in the flare as we close some more...


And go for the kill with last few passes... almost there!


Done!


Suffice it to say that I also did the second (matching) girdle band.  I'm going to take a break from this image editing etc. and continue in the next post.  See you later, folks!


Saturday, 15 October 2016

Girdle Bands - Adding leathers

Not that long ago, I mentioned a lack of illustrative mistakes.  Today I will bring you at least two.

As you may recall, there are a number of made-up girdle bands waiting to be assembled.  Well, today's first mistake relates to those - I didn't put the rivets holes for leathering into the bands.  Now I'll have to add those (and put holes into the leather itself) with them already shaped, which is much less convenient.


First things first - I had to look at the pathetically mismatched eclectic selection of bands and determine front/back and what order I would hang them in.  Everything got labelled, probably past the point of common sense, but it's better to mark too much than to mark too little (and make a mistake because of it).

This brings me to an important armouring tool which (quite frankly) I had forgotten all about - soapstone.  Yes, those lovely "B"s are made with soapstone - not chalk!  Soapstone marks much better, is less fragile, and hits a nice sweet spot between being difficult to smudge but easy to remove.


Since I made the mistake of leaving this task until the bands were already bent, marking the points for rivets required a measuring string which I could lay across the inside of the lames.  I suppose I could have eyeballed it, but this seemed more foolproof.


As described in previous posts, a center punch is used to mark a nice divot in the metal where the hole should go.  The metal punch has a small tooth which is used to 'find' the divot and make sure you're putting the hole exactly where you want it.

Leathering is then the process of slowly adding each lame to the leather strip.  You can see here I am using nuts and bolts as my temporary "rivets" while testing the fit.  These will be replaced with actual rivets during the final assembly.


Note the black tape.  This is added to provide a visual guide of how much overlap is being added with each piece.


Also note that I'm still using second-hand belts for my leathers rather than buying the real stuff.


Our friend the leather punch makes an appearance again.


Here's another shot - note the how the black tape helps line things up consistently.


Finally, this brings us the to second mistake of this post.  After taking all these pictures and completing the first leather, it finally occurred to me that I need three leathers per girdle half...  I should have done all three at the same time!  Instead I had to take these girdle bands apart and start all over again from the markings to the holes.


Last picture from Saturday is the other half of the girdle bands all laid out and marked.


The more observant among your may have already noted that 5 simply isn't enough girdle bands... and you're right!  I actually have six for each side, but after a test fitting on Saturday evening I confirmed that even that would be a bit short.

Sunday's post covers the reaction to this discovery.